
Flower Birthday Cake.
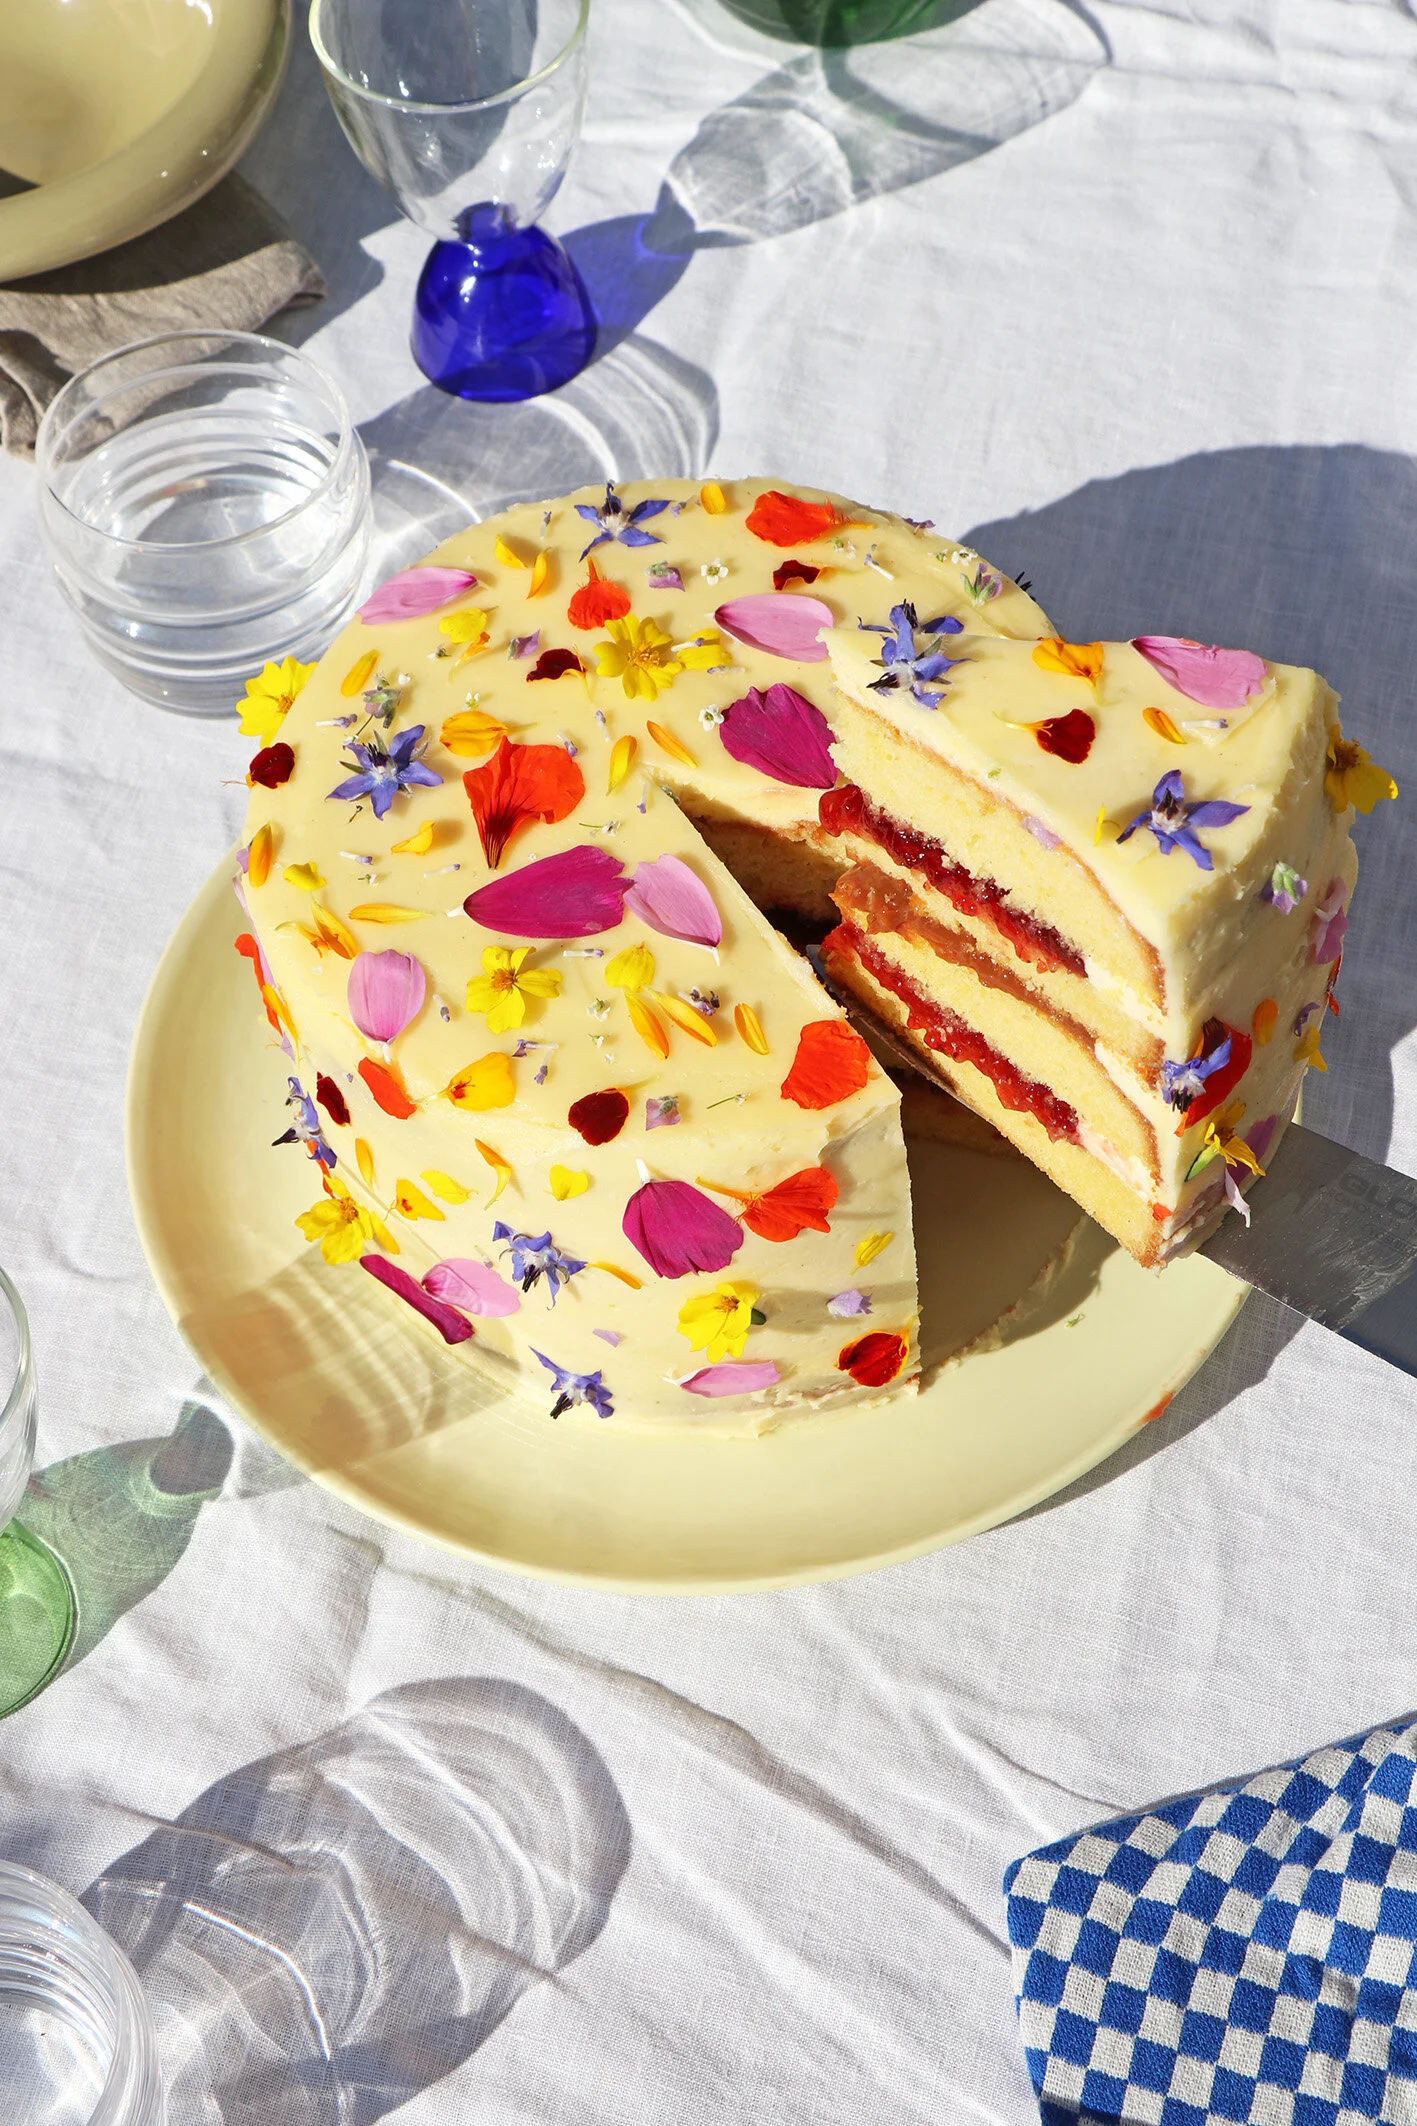
Nothing says ‘I love you’ quite like this cake. It’s cute, yes, but mostly it’s delicious. Buttercream is a small pain in the arse (in my opinion, don’t come for me) but the cake is super easy so it will balance the whole thing out to make it a simple and approachable thing for you to make for your buddy/s.
My hot tip is to make the cakes the day before, then just make the buttercream and assemble on the day so you’re not pulling your hair out waiting for your cakes to cool.
I like to fill this cake with some jam and slices of strawberries or plums or fresh raspberries, curds, creams, whatever you like. The one pictured has a lovely tart raspberry jam and a layer of dulce de leche in the middle!!!
It’s really nice and fun to go and pick the edible flowers yourself, just do your research so you don’t poison anyone. Pictured here we have: borage, marigold, nasturtium, lavender, dahlia - all easy things that are floating around most of the year. When in season, I love to put whole chamomile flowers on too, I love their apple-y-ness.
Important!
I have listed the cake ingredients for 1 cake, I like to make 2 x cakes but I make them separately otherwise it doesn’t fit in my stand mixer. You can double the cake recipe and make the two cakes at the same time, if you want to, but I personally like to do it this way. If you want to only make 1 cake, please go for it, but halve the buttercream recipe.
Ingredients:
Per Single Cake *:
200g caster sugar
3 eggs
1 tsp vanilla paste/seeds from 1 vanilla bean
200g self raising flour
200g unsalted butter - melted and then cooled
Buttercream (for 2 cakes/4 layers):
350g unsalted butter, room temperature
650g pure icing sugar, sifted
1tsp vanilla paste/seeds from 1 pods
1 teaspoons of salt
2 tablespoons of heavy full fat cream, room temperature
*I make two cakes and cut them in half for 4 layers.
Method.
For the cake:
Step 1.
Preheat oven to 180 degrees. Grease and line a 24cm cake tin (or two, if doubling).
Step 2.
Melt butter and set aside to cool (I will often sit it in the fridge while I do the next steps).
Step 3.
Weigh out 200g of sugar in stand mixer bowl, crack in eggs and add vanilla, beat until light, fluffy and thick. About 8-10 minutes.
Step 4.
Weigh out and sift 200g self raising flour in a separate bowl and set aside.
Step 5.
When the melted butter about room temperature or colder, slowly pour it into the fluffy egg and sugar mixture with the mixer on low/medium speed.
Step 6.
Once this is completed, add the flour 1 heaped tablespoon at a time until combined, careful not to over mix the flour so as not to form too much gluten. I add it, mix on lowest speed until just combines, and then add the next spoon. You can also remove bowl from mixer and fold the flour in by hand if you’re worried.
Step 7.
Cook in preheated oven for approx 40-45 mins or until a cake tester or metal skewer comes out clean when tested in the middle of the cake. Remember that every oven is different, and if you use a slightly different sized cake tin this will change the cooking time too, just keep checking the centre until it’s ready.
Step 8.
Repeat all of the above a second time, for the second layer.
Step 9.
Let cakes cool completely before assembling.
For the buttercream:
Step 1.
In a stand mixer, the paddle attachment on, beat butter on medium/high speed until creamy and pale - approximately 15 minutes. Go longer if you’re wanting a nice white buttercream, the longer you beat, the whiter it will be.
Step 2.
Add sifted icing sugar 1/3 cup at a time, beating for 2 minutes between each addition, so as to dissolve the sugar. After you add the sugar, beat on lowest speed until just incorporated and then pump it back up to high for the 2 minutes before adding the next allotment. Once all sugar is added, beat for a further 10 minutes. If you are having trouble with grainy ‘split’ buttercream, try to identify whether it is too hot or too cold, I find that holding either a warm heat pack or cold ice pack around the base of the bowl can help to bring it back. This can be hard in winter because the room temp is quite cold and the butter seizes easily. Don’t despair though, all buttercream can be saved, and it will still taste good even if it’s slightly lumpy to the eye so who cares.
Step 3.
Add vanilla and salt and beat until combined.
Step 4.
Turn mixer to low and slowly add 2tbsp of the cream, turn mixer to high and beat for 3-5 minutes. Add more cream until you reach desired consistency. The cream will also help to dissolve any last powdery bits of sugar.
Step 5.
If you’re wanting to add any colouring or fruit, this is the time to do it. Fresh raspberries are gorgeous after a few beats, nice and rippled. Again though, make sure they are room temperature.
Assembly:
Your cake should be completely cooled before you start to assemble. Use whatever fillings you like in the middle, something tart is lovely against the sweet buttercream and cake. This cake has dulce de leche and raspberry jam, there’s nothing wrong with using stuff from the jar, by the way, cakes are a lot of work, so make it easier for yourself, buy some nice jam and you’ll have a great time.
Step 1.
Carefully cut your two layers of cake in half, you should now have 4 layers. Place the bottom layer on your serving plate/stand and use a sandwich bag with a corner cut, or a piping bag, to create a ring of buttercream around the top edge of the first layer. Fill with your desired filling and repeat for all remaining layers, except the top.
Step 2.
You can continue to “pipe” the buttercream around the top and sides of the cake, or just apply directly with a spatula, whatever feels easiest for you. Create a nice even coating of buttercream around the outside of your cake. Try not to get caught up in making it look perfect, it’s like sinking sand and you might never return from that hole. Just remember it’s going to be mostly covered in flowers.
Step 3.
Top with your flowers, you can use whole flowers or petals or a combination of both. Have fun, it’s sweet to place them all, it kind of feels like you’re making a painting.
Step 4.
Serve to your birthday buddy and feel proud of your accomplishments!
